FrontPage Help: Creating a Navigation Structure
NOTE: For the Cabinet Web Site project, you DO NOT have to do this in order to make your project work. If you're not interested, just move on to the next step. If you're interested in creating your own, more complicated web sites in the future, it's good to learn this process.
The Navigation structure is a graphic organizer that shows how your web site is set up. Before you do this, you should have several pages of your web site saved.
Note: While doing your "Cabinet Web Site", go through the process of adding all the pages you will need. You can title each page with the name of the Cabinet department that will be discussed on that page.

Now you're ready to create a navigation structure.
1. On the left side of your screen, click the "Navigation" icon.

When you do, your screen should look like this.
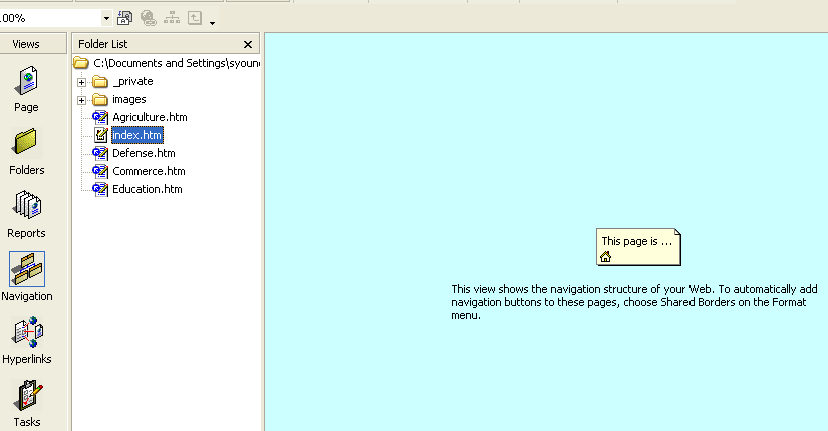
3. The page that is in the middle of the screen is your index (home page). You do not need to do anything to this file. Click on a file that someone viewing your web site would view after your home page (for the Cabinet Web Site, you can choose your first department page). Left click on that file in the folder list. While holding the left button, drag that file under the home page picture in the middle of the screen. You should see a line appear that links the two files.
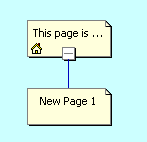
4. You can right-click on the file you just dragged (in the example above, it says "New Page 1", choose "Rename", and title it the same as your file name (for example, "Agriculture".)
5. Go through that same process for all of the pages you have created.
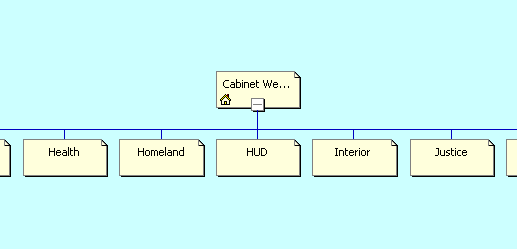
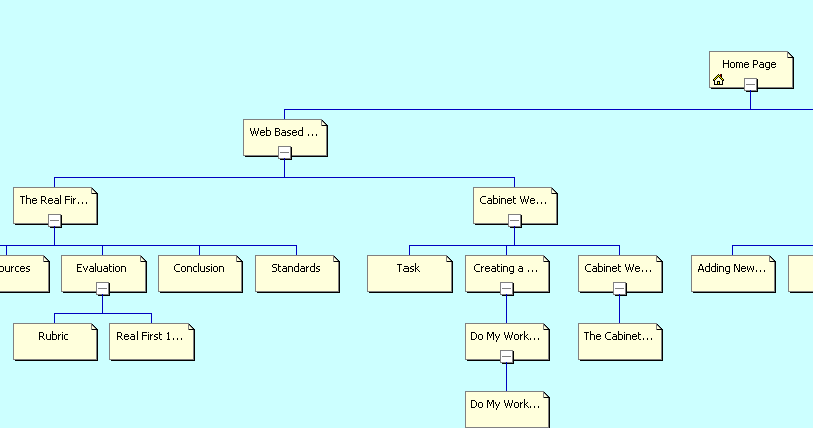
6. In the future, if you create a more complicated web site, you could continue with this navigation structure, dragging files under sub-files (called parent and child files). A large web site could have a navigation structure that looks like this.
7. When you create a new page, you can go back to the navigation structure and add it at any time.