FrontPage Help: Creating a Link Bar
Web sites work by linking one page to another. A good way to make your site easy to navigate is to create a link bar.
1. Click on "Insert", "Web Component".
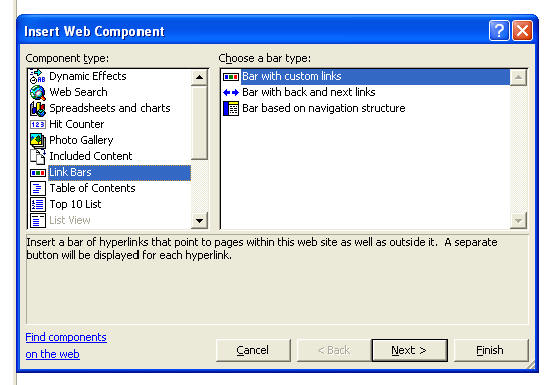
2. In the pop-up screen, click on "Link Bars". Choose "Bar with custom links", then click "Next". Choose to use the theme, click next, then decide if you want your link bar to be horizontal or vertical. (Mrs. Young usually chooses vertical), then click finish. Create a name for the link bar (for example, "Cabinet Web Site").
3. In the pop-up screen, you can begin adding your links. Choose "Add link". In the new pop-up screen, click on the file you want to add and its address will automatically be added. You can change the "Text to display", then click "OK". Do this for each file you want added to your link bar.
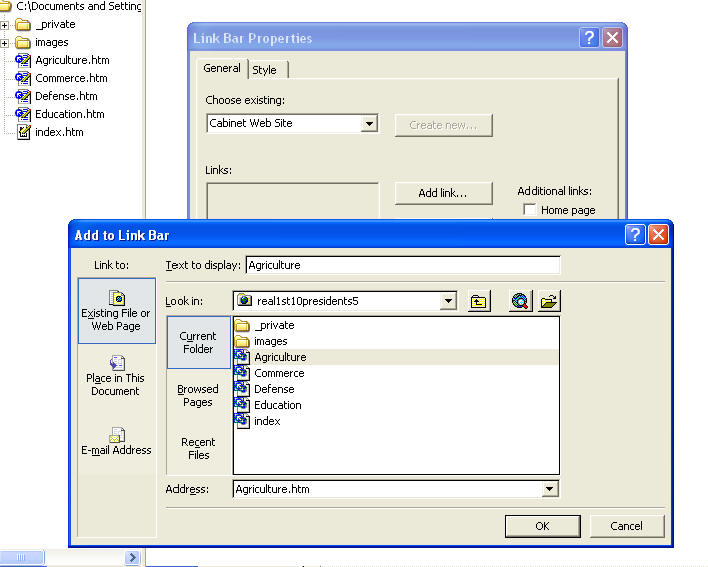
4. If you want to change your link bar after it has been created, hover over the link bar, right-click, then left-click on "Link Bar Properties". You can then add new links, delete links, reorder the way the links appear in your list, or modify the link (for example, change the spelling of the text that is being displayed).