Mexico Homework Projects
From the list of 7 projects below, chose 3. You only need to do
3 out of the 7 Homework Projects - not all 7!!!!
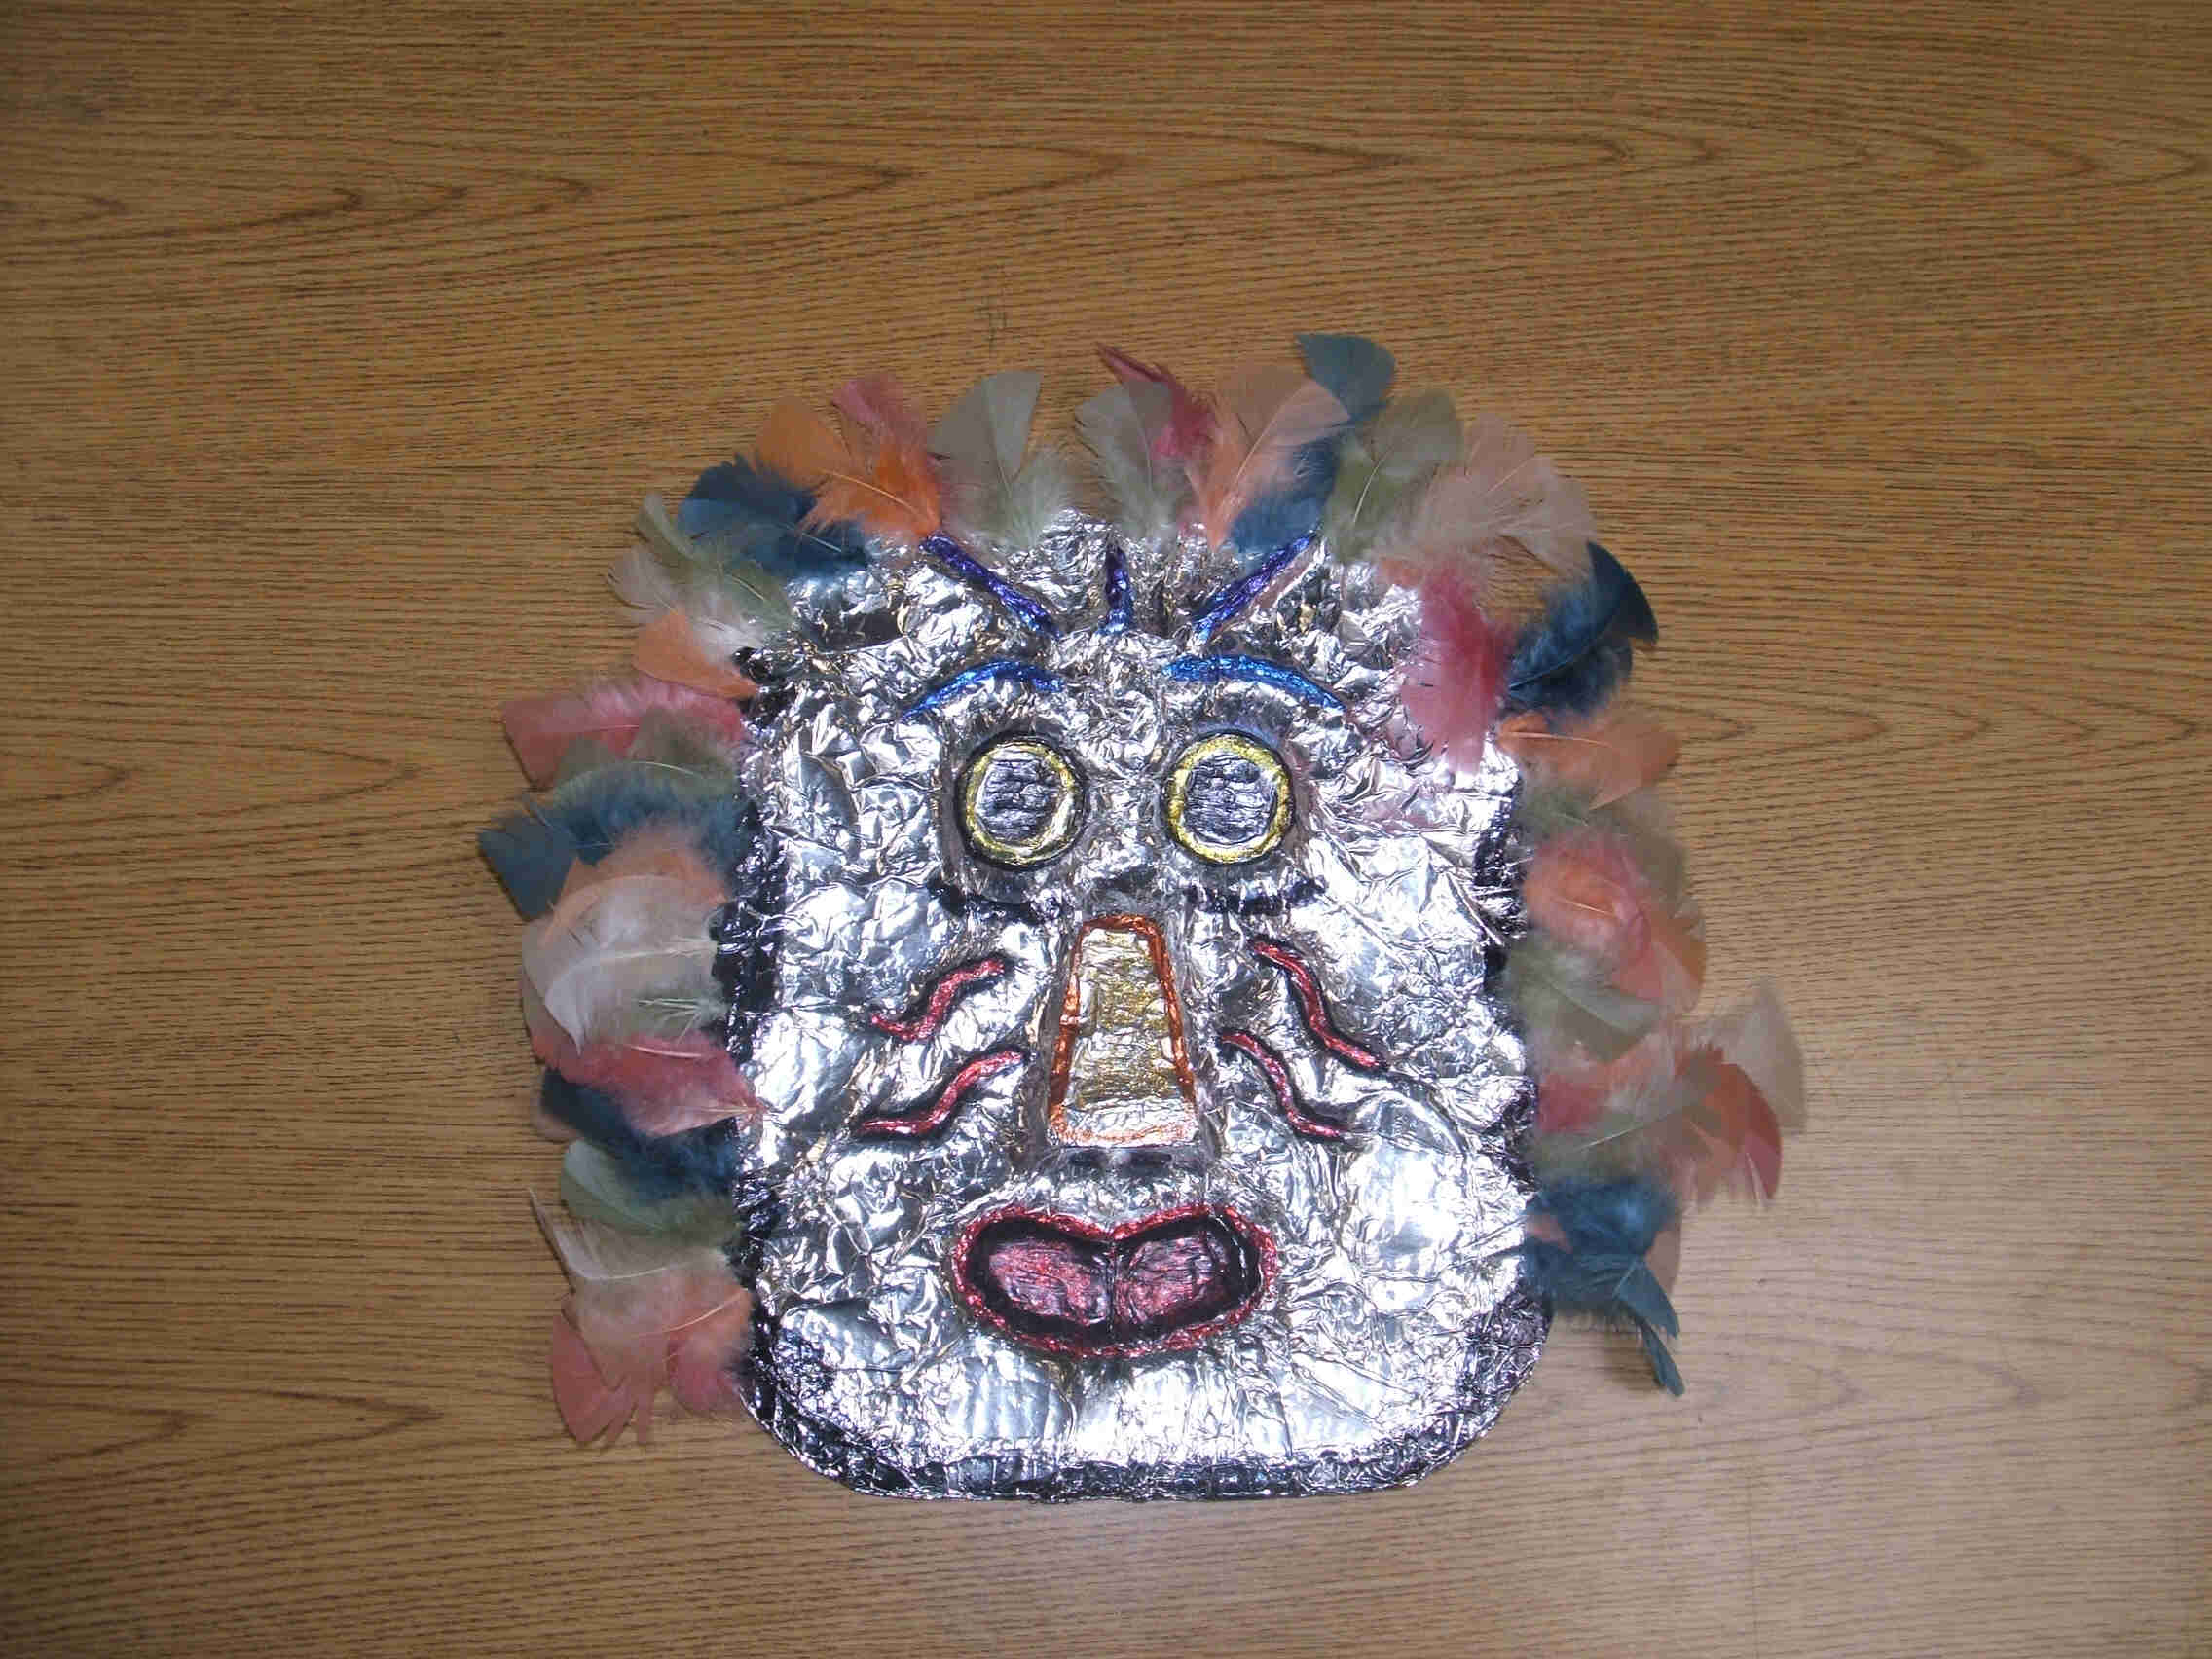
Sun God Mask
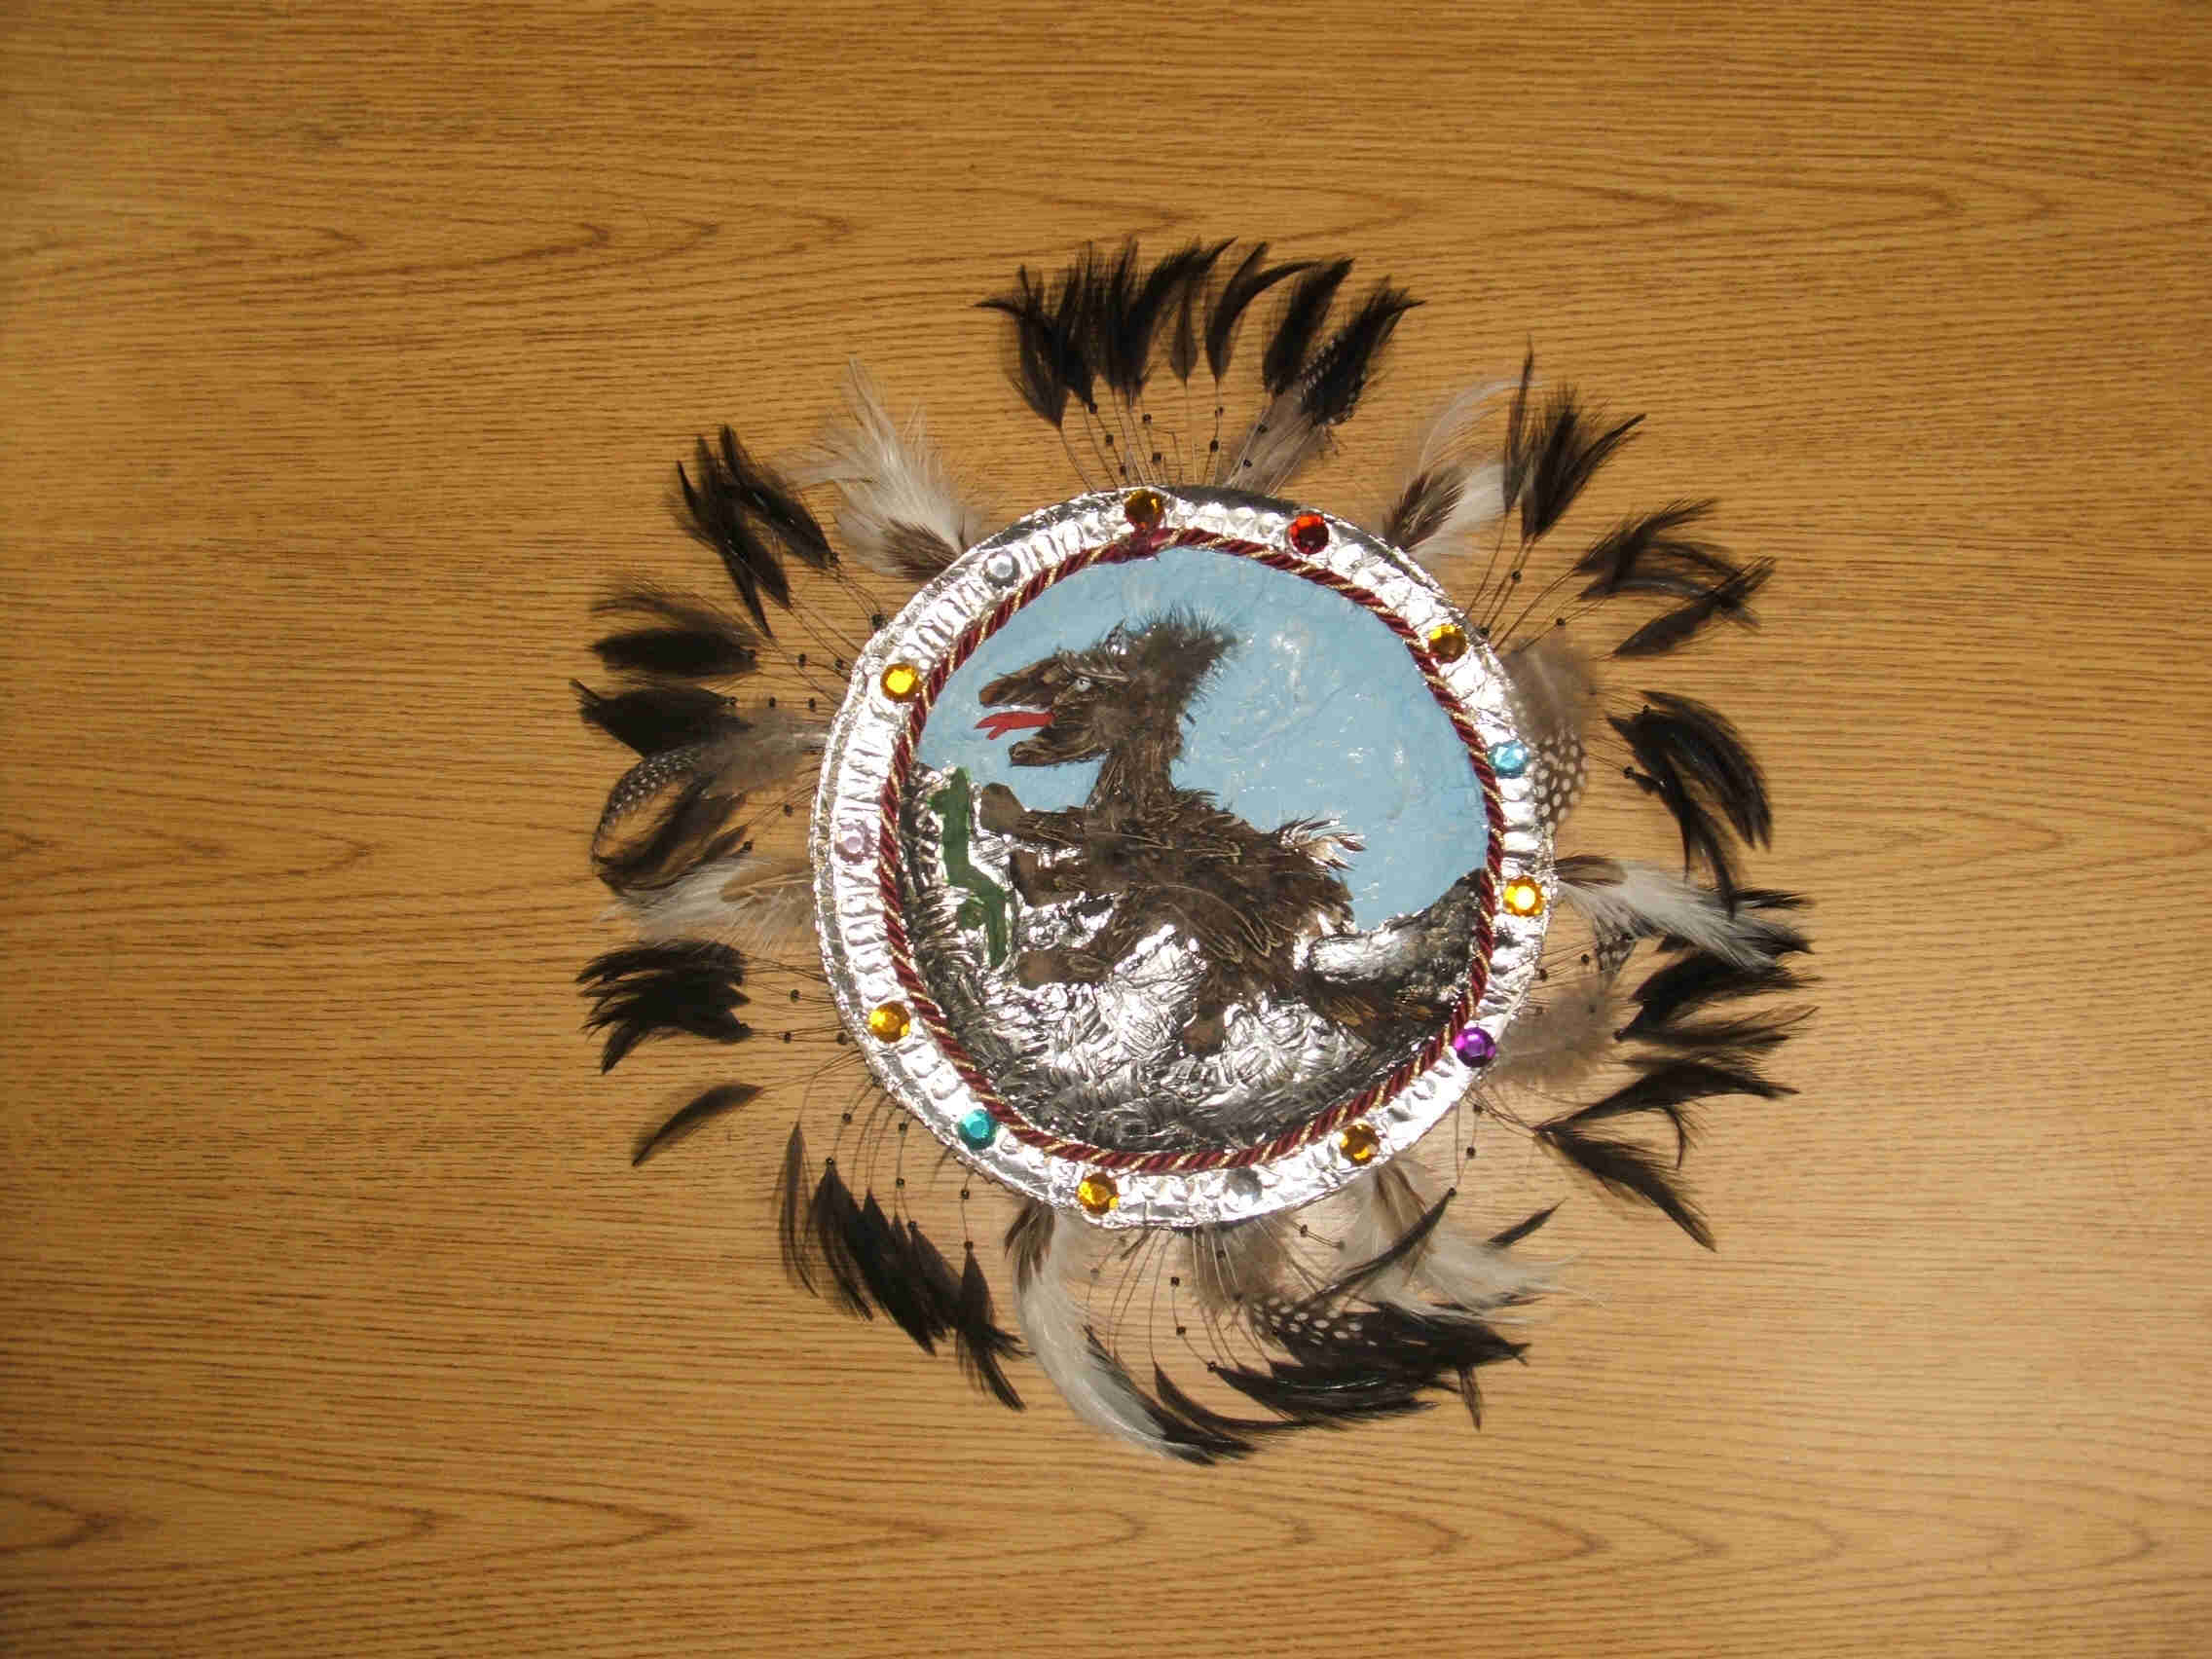
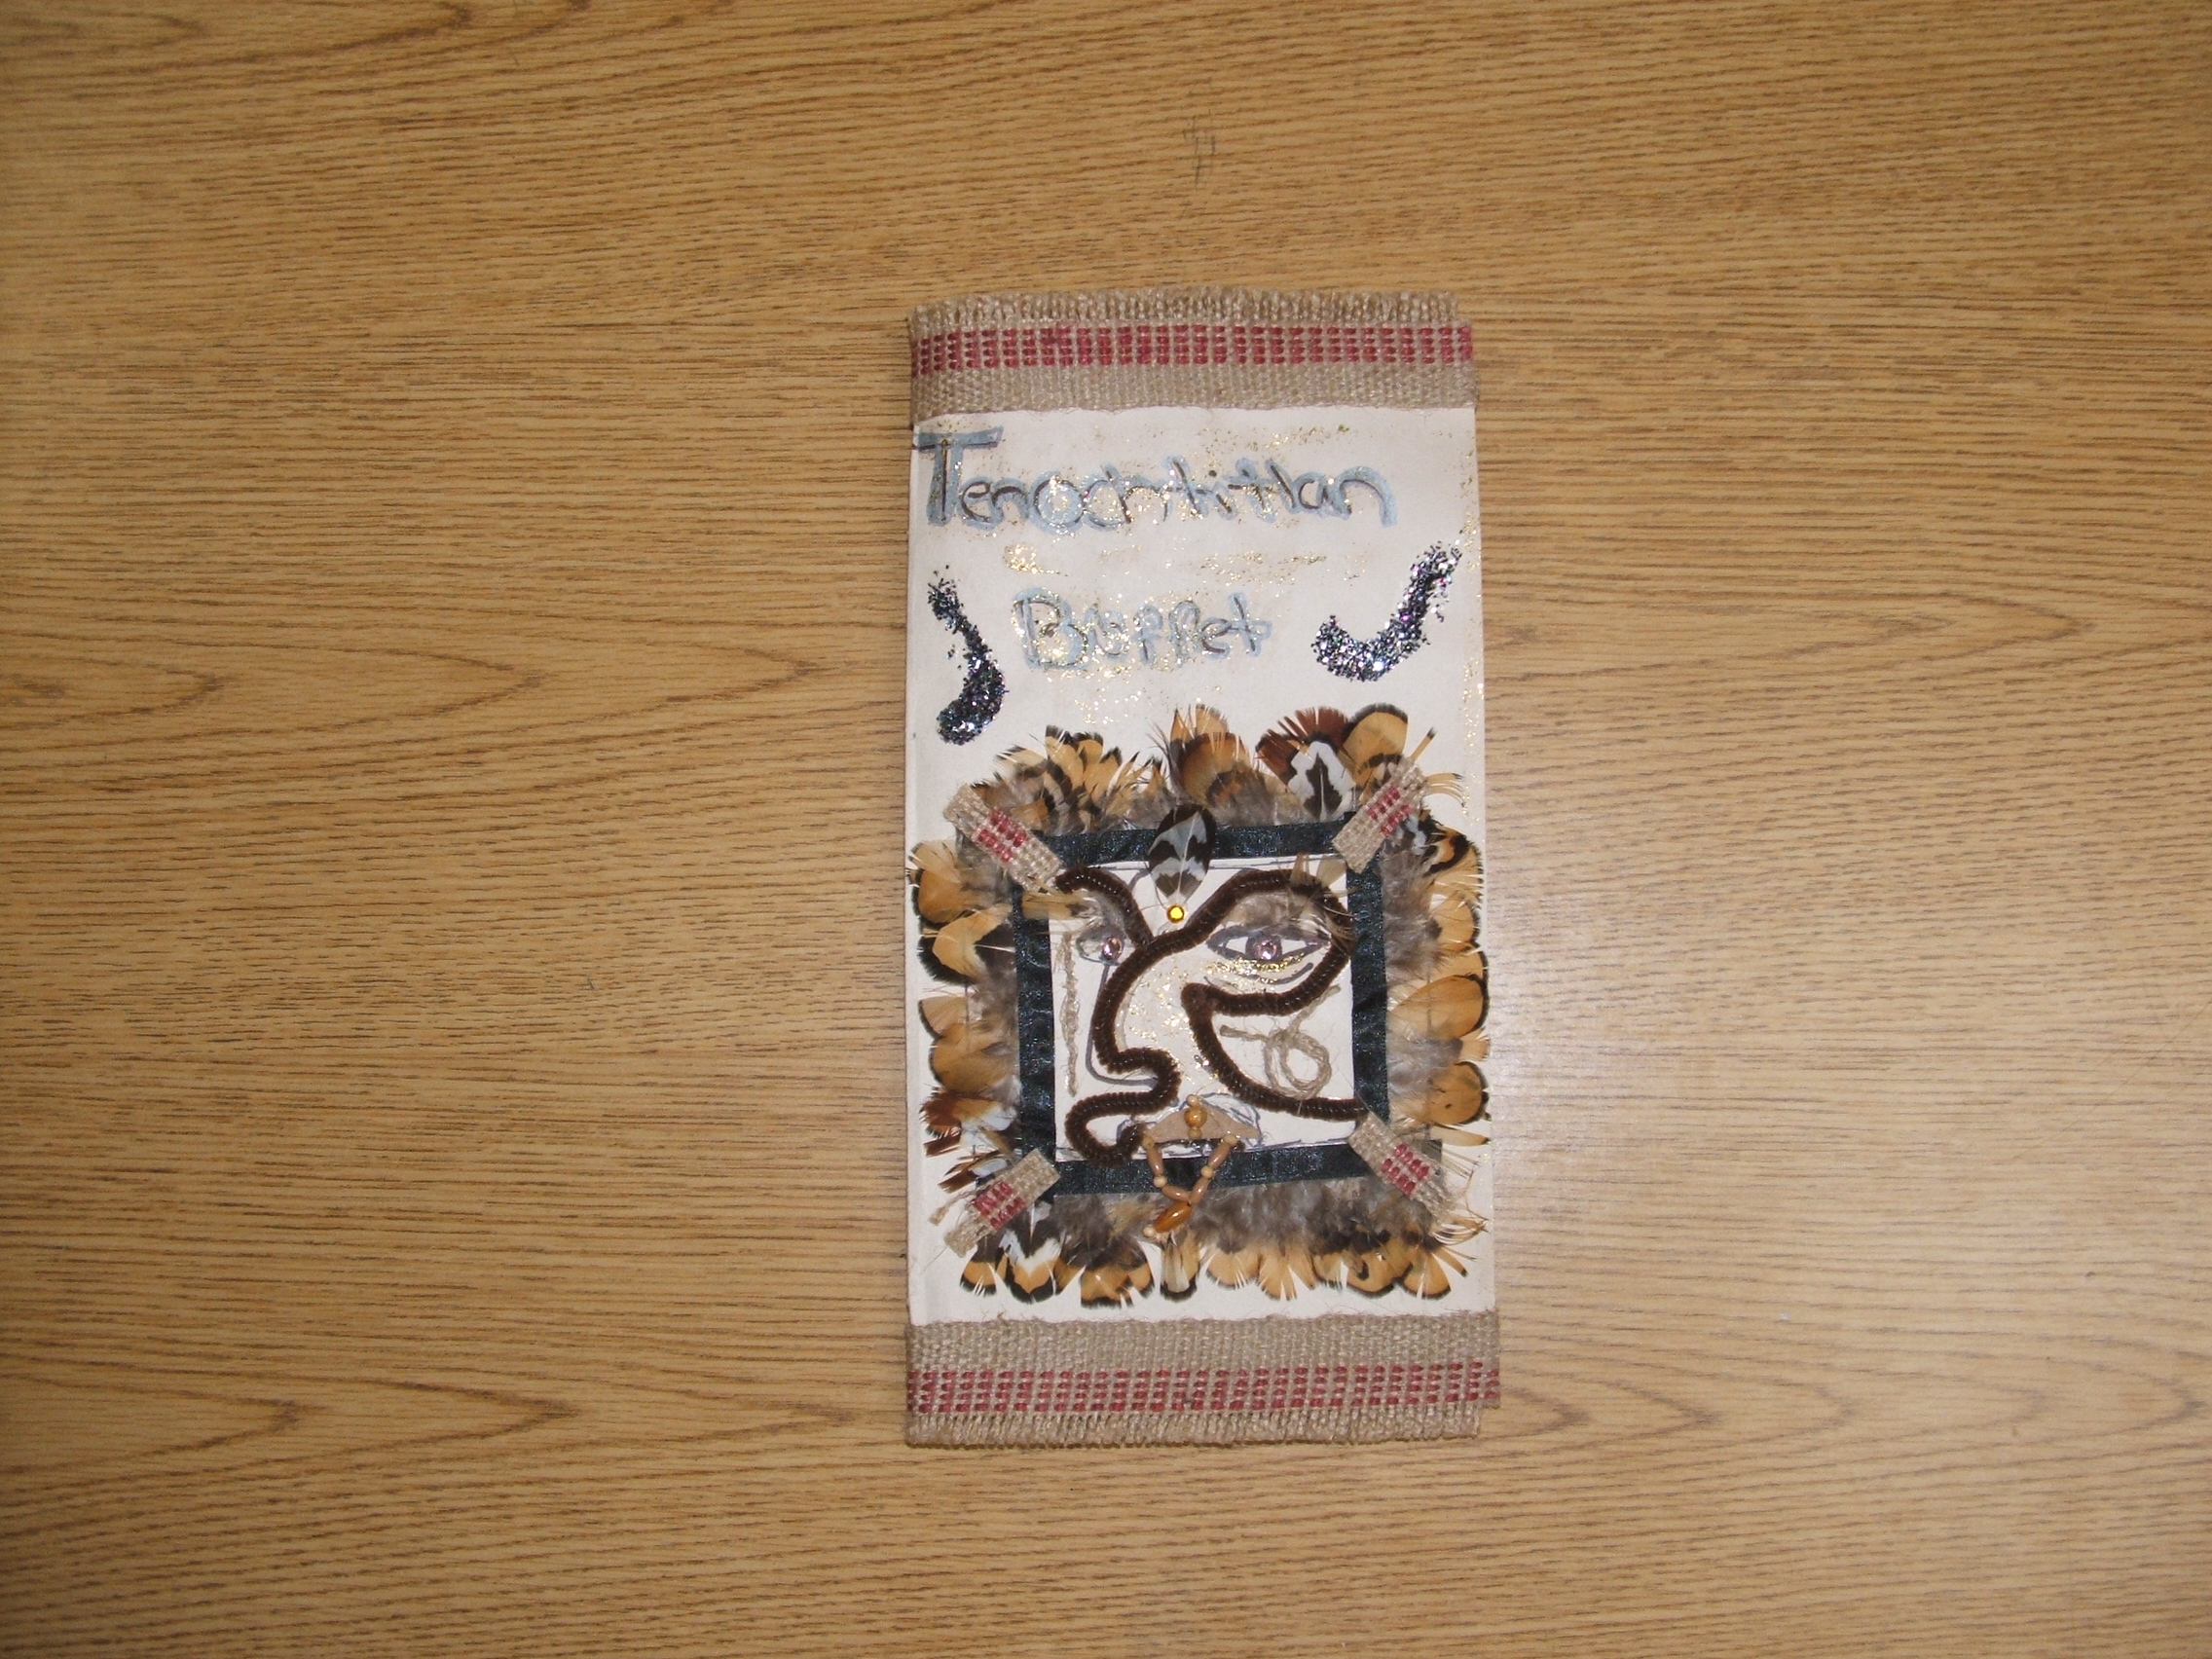
Aztec Battle Shield
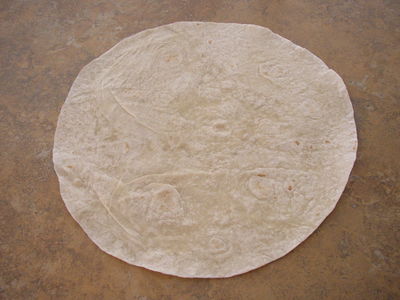
Tortilla (just one please)
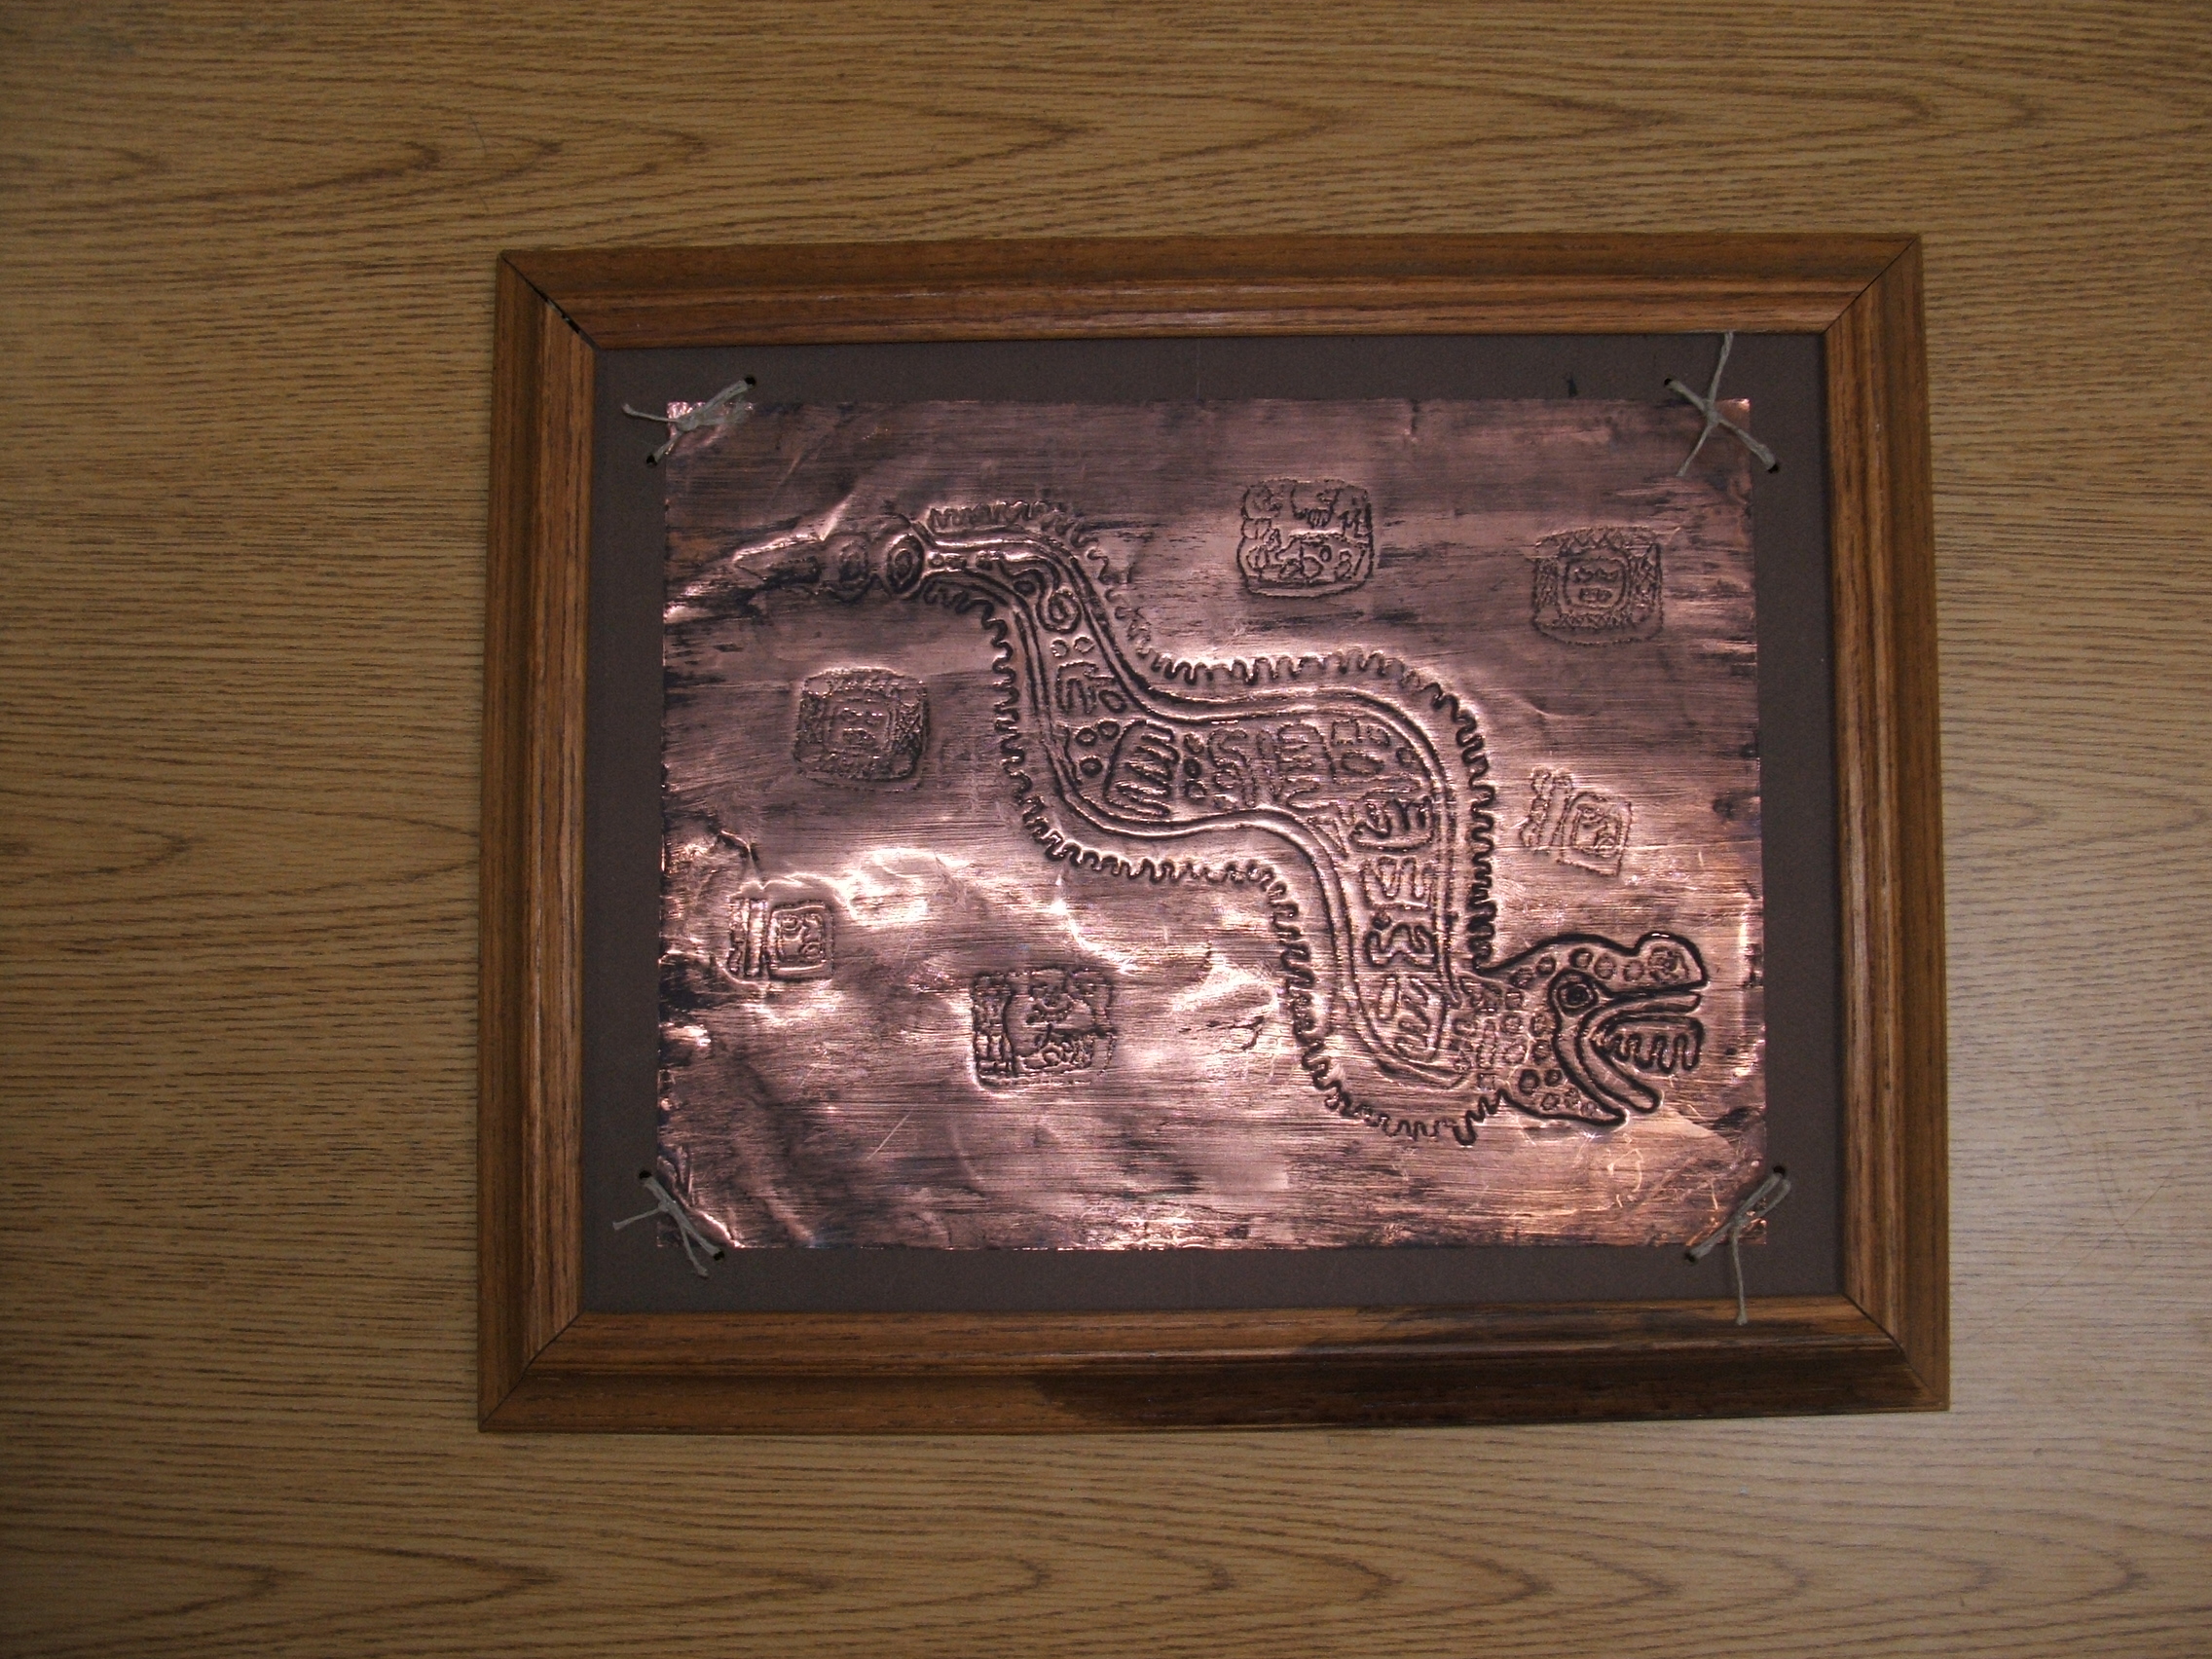
Tooled Metal Design
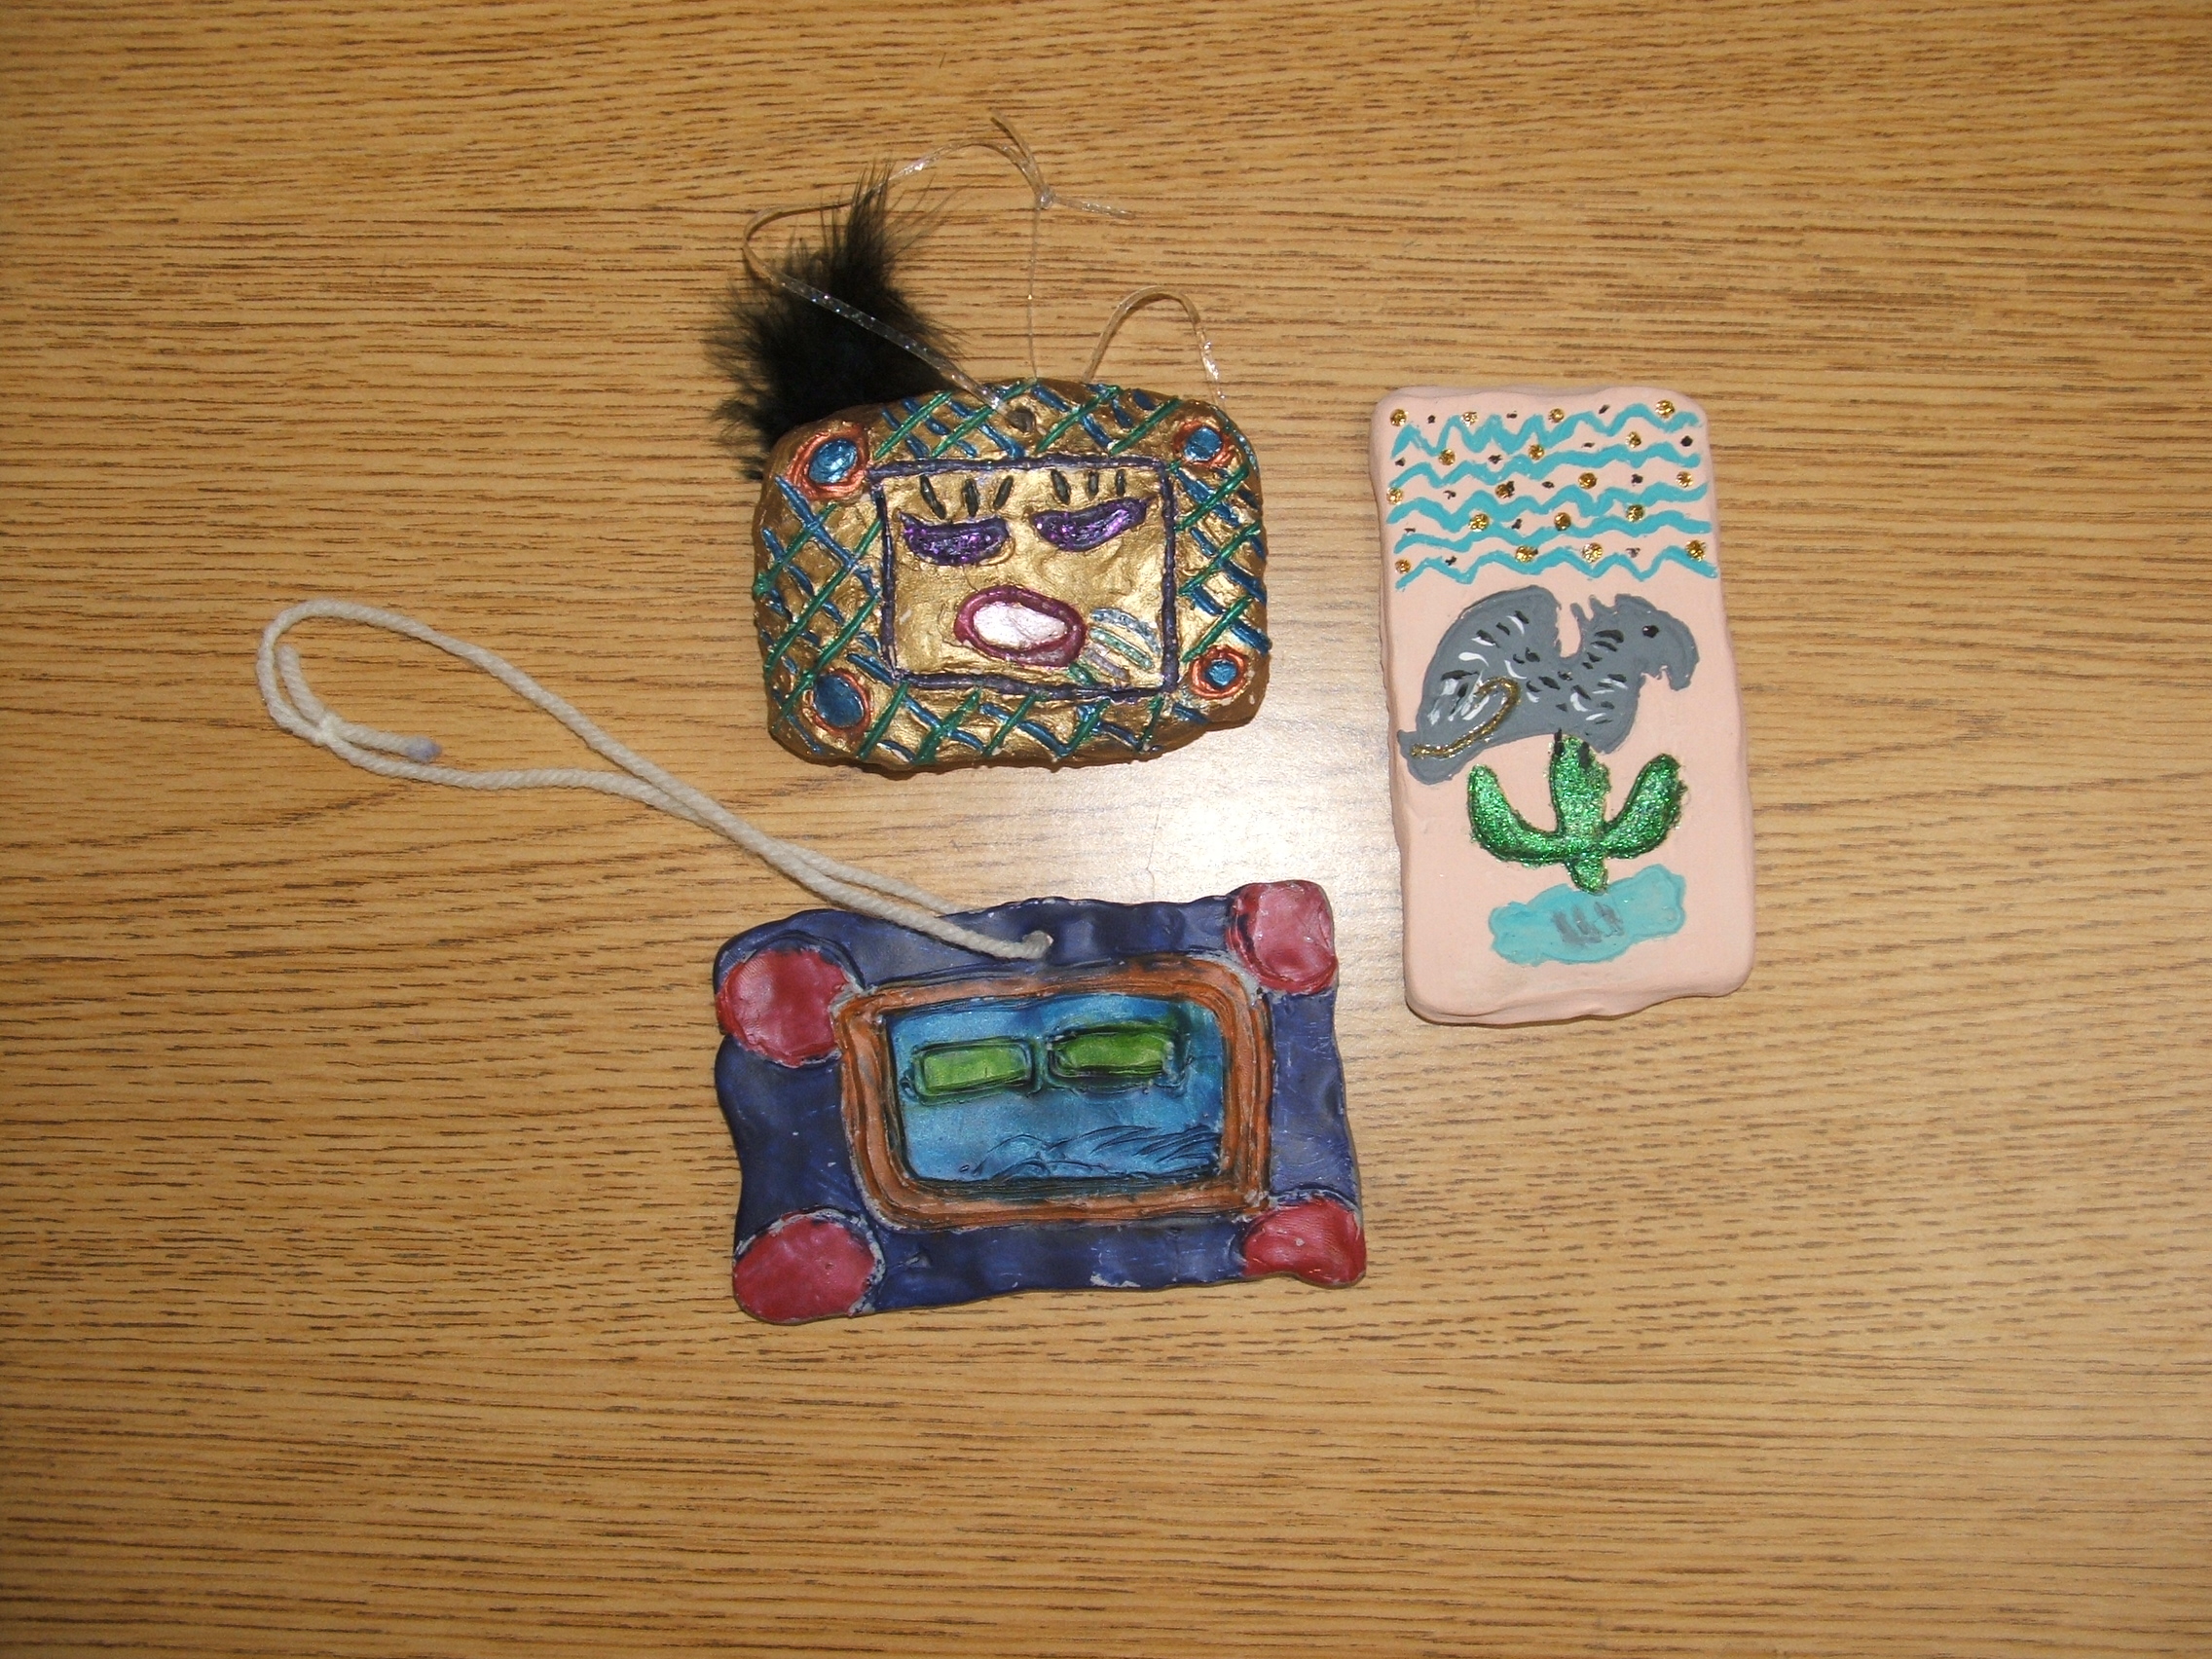
Mayan Glyphs
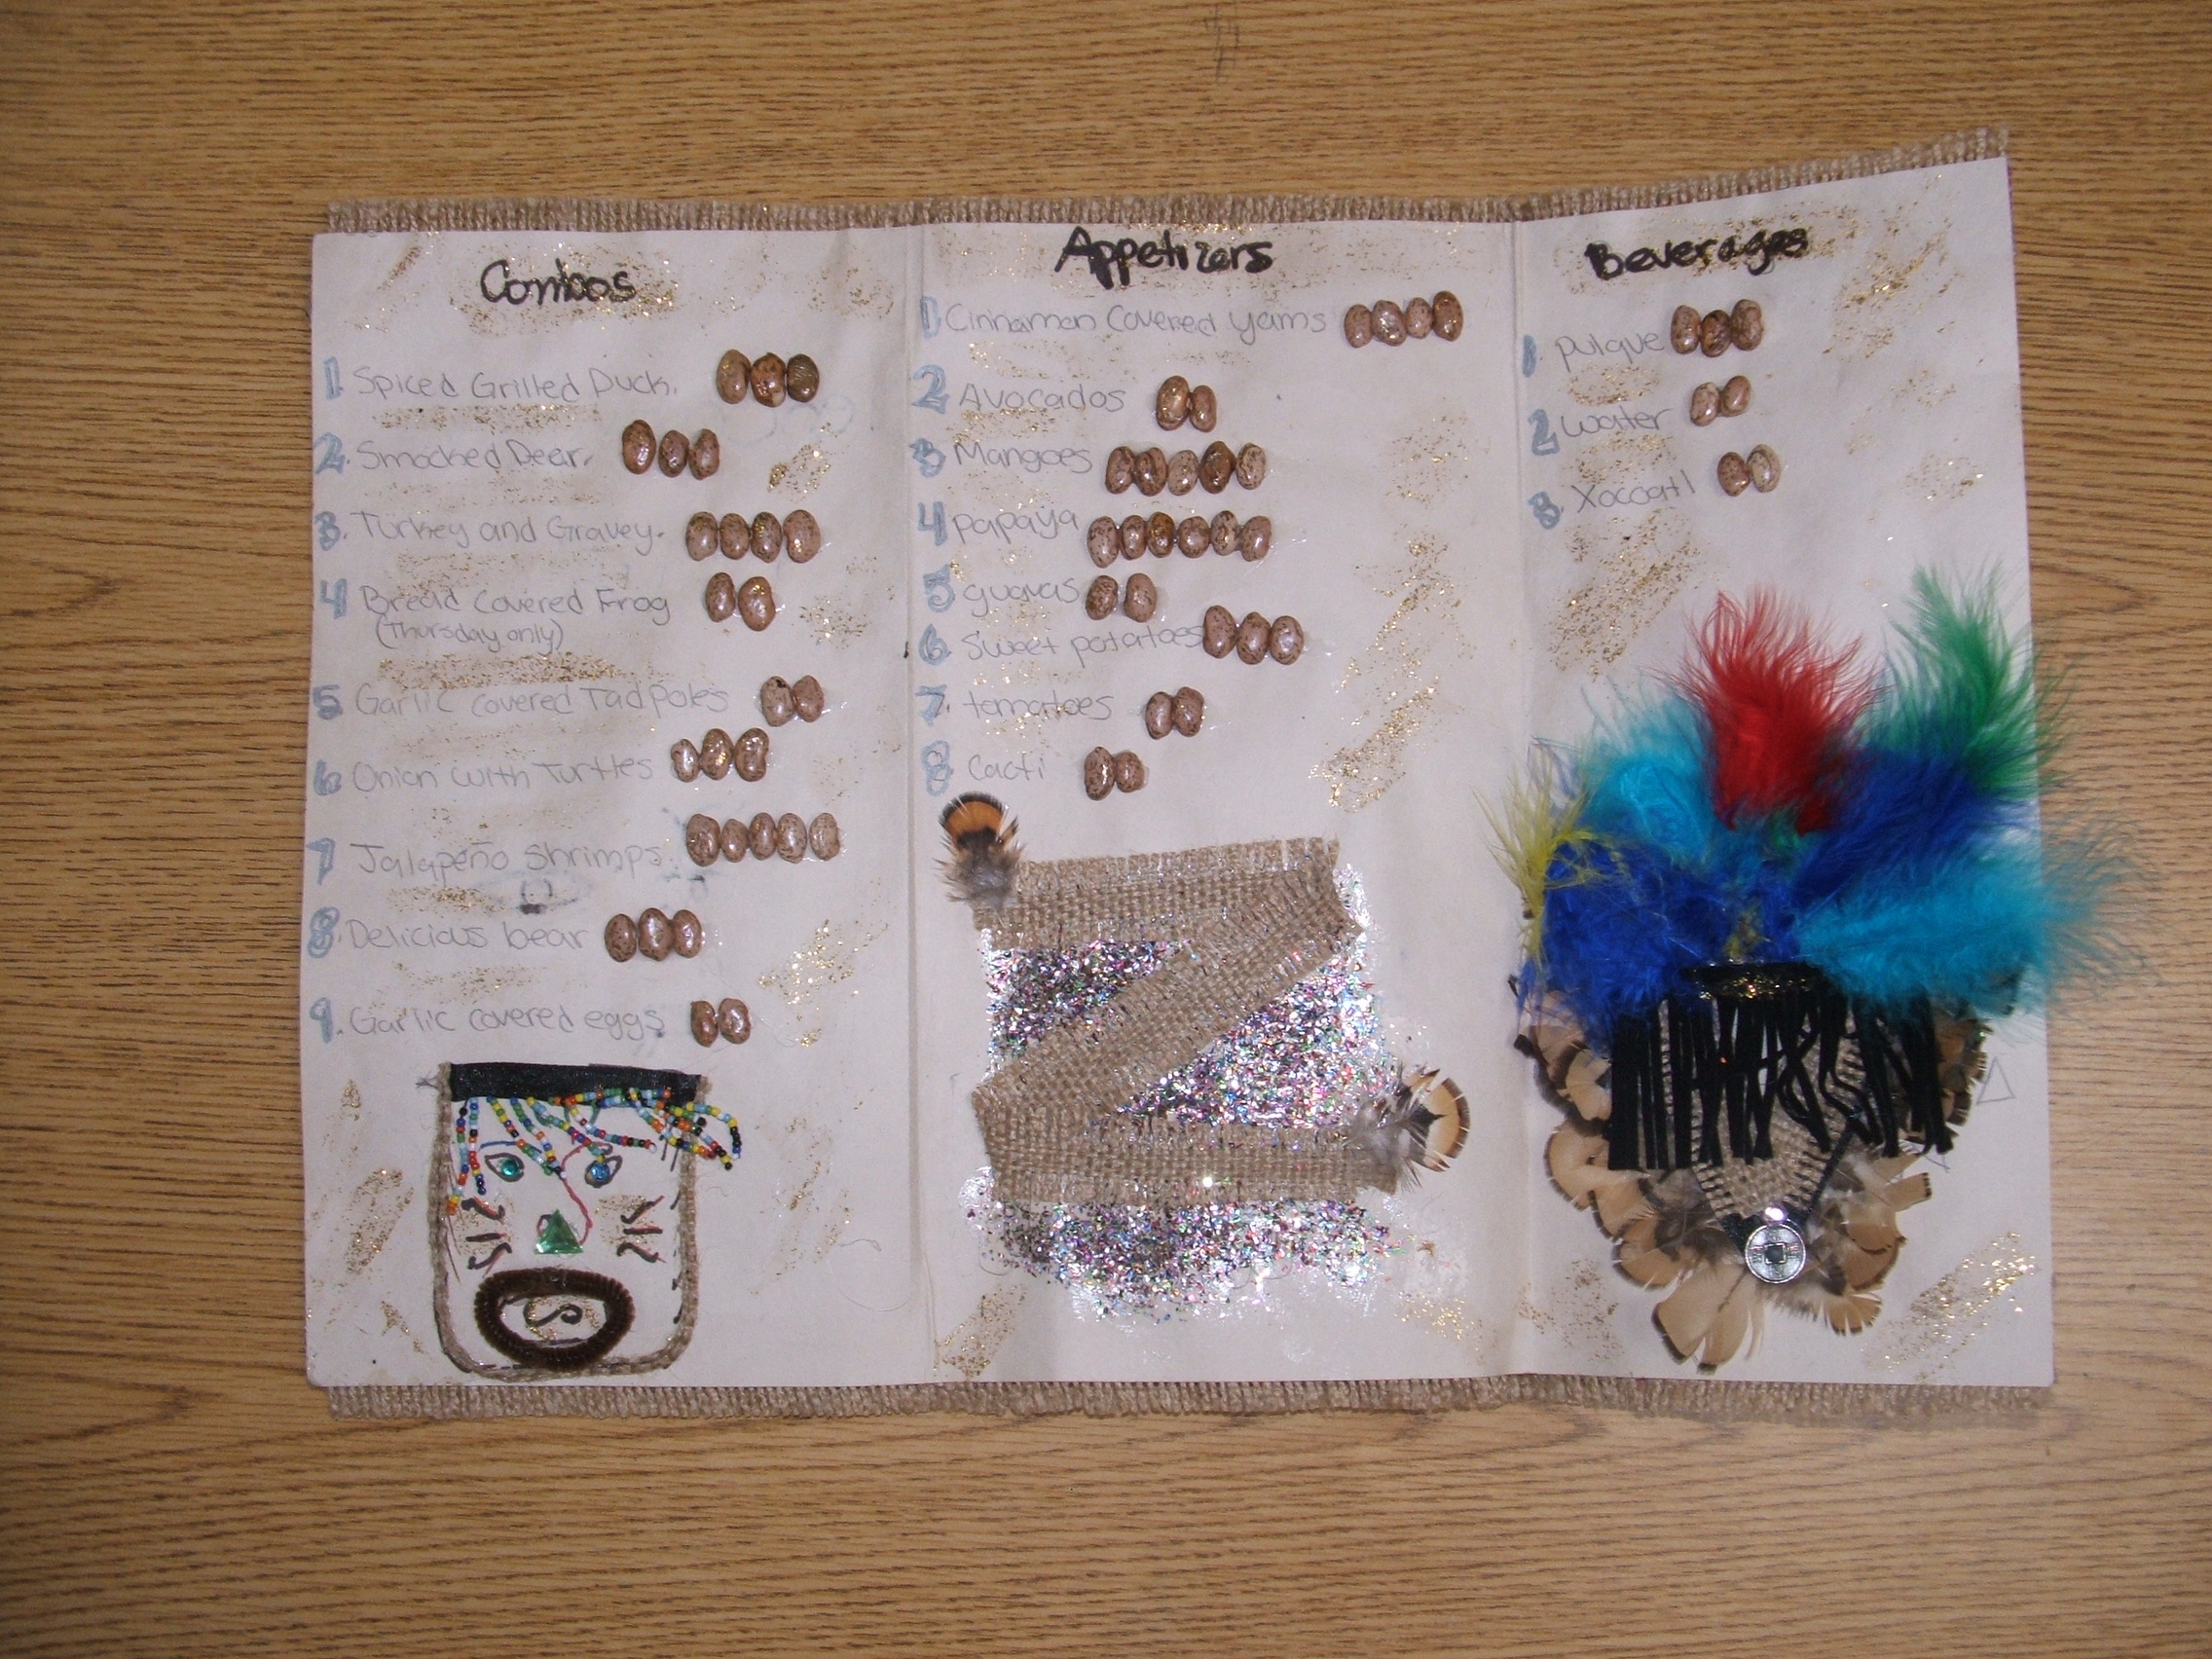
Aztec Restaurant Menu
Mayan Mosaic Jar (no directions given...see student hand out)
Click here!!!
Suggested
Materials To Use When Creating These Projects
Click here!!!

Project #1 DUE: 5/21
Project #2 DUE: 5/28
Project #3 DUE: 6/4
| |
|
Materials: piece of cardboard, string or yarn (any color), foil,
glue, and scissors, permanent markers, tape, optional - feathers, sequins,
raffia, yarn, glitter, etc
Directions:
1. Draw an oval shape on the cardboard and cut it out
2. Draw your face design on the cardboard
3. Glue string over your design. Let it dry overnight.
4. Cover the mask with foil. Tape the foil down on the back.
Press the foil gently with your fingertips until your design becomes
visible. Be careful!
5. Using permanent markers, color your mask.
6. Add extras like feathers, sequins, raffia, yarn, glitter, etc.
|
|
Materials: paper plates, plain drawing paper, crayons, markers or
paint, scissors and glue, scraps of fabric, colored paper, foil, feathers,
glitter, beads, yarn, tissue and crepe paper, etc.
Directions:
1. Research library and classroom books for some ideas and
patterns. Jaguars, eagles, and serpents were highly respected symbols.
Bright colors, feathers, metals (like gold and silver), and mosaics made
from semiprecious stones (like turquoise) were used frequently.
2. On a piece of plain paper, trace the shape of the paper plate.
Plan your designs, deciding what colors, symbols, and art techniques you
want to use.
3. Using pencil, draw your design on the paper plate. Add
color.
4. Add extra items like dangling feathers, colored paper cut into
mosaic pieces, or pieces of foil.
5. On the back of your shield, write a paragraph explaining what
the symbols and colors you used
|
|
Ingredients:
 | 2 1/2 Cups all purpose flour |
| 1 Tablespoon Baking Powder |
| 1 Pinch of Salt |
| 1 Cup warm water |
| Rolling pin |
| Waxed paper |
| heavy frying pan |
Directions:
1. Combine the flour, baking powder, salt and warm water in a
large mixing bowl. Using wet hands, mix the dough until you can form
it into a large ball.
2. Cover dough and allow to rise for 30-45 minutes.
3. Wet hands again and shape the dough into 12 smaller balls (about
the size of a golf ball).
4. Put one ball onto a piece of waxed paper. Place another
piece of waxed paper on top. Roll with a rolling pin until it is about
6 inches in diameter. Continue for each ball of dough.
5. Heat the ungreased frying pan to medium-hot.
6. Peel off the top sheet of wax paper. Flip over and drop
tortilla (paper side up) into the frying pan. Peel off the remaining
paper. Cook for 30 seconds. Turn and cook for one minute.
Turn and cook for 30 seconds. Tortillas should be soft and dry with
light brown flecks.
|
|
Materials: Heavy duty
aluminum foil or gold foil, acrylic paint - Black, Sponge, Scissors, Tracing
Paper, Ball Point Pen, Colored Paper or Piece of Smooth Wood, Poster board -
(if using aluminum foil), Paintbrush, Glue (Tacky Glue recommended)
Directions:
1. Make a tracing paper copy of the design (see your hard copy for
design).
2. Place the tracing paper designs over a sheet of heavy duty
aluminum foil or gold foil.
3. Carefully outline each design being sure not to break the foil
below.
4. If using aluminum foil, cut a sheet of poster board the same
size and glue the tooled metal design in place on the sheet of poster board.
Allow to dry.
5. Paint the entire surface of the metal design with black paint.
Carefully remove the excess paint with a clean, damp sponge. This
technique will highlight the lines tooled into the metal. Allow to
dry.
6. Cut a piece of colored paper or a piece of wood measuring 2
inches larger on all sides in relationship to the edges of the finished
tooled picture.
7. Glue the finished tooled metal design to the sheet of paper or
piece of wood.
|
|
Materials: Self Hardening
Clay, Craft Sticks, Dull Pencils, Paint, Dough Clay (Click here to download the recipe)
Directions:
1. Pat or roll a small amount of clay into a 2" X 5" rectangle, 1/4 inch
thick.
2. Use dull pencils and/or craft sticks to trace your glyph patter
into the clay. Make a hole at the tope for threading the pendant on
the cord.
3. Paint the clay after it has been allowed to dry. String it
on a piece of string or yarn and wear it for good luck.
|
|
Directions:
1. Fold a 12" X 18" piece of construction paper into thirds. 2.
Decide on a name for your restaurant, like Tehuacan's Eatery or
Quetzalcoatl Cafe. Design a logo using the name you have selected
and draw it across the top of the middle section. 3. Divide your
menu into food categories like appetizers, main courses, desserts, salads,
beverages, etc., and write those titles. 4. Create your own dishes
for each category, using only Aztec foods. Carefully write the name of
the dish with a brief description of the ingredients, like Teotehuacan
Treats: Grilled fresh ants in a delicate chocolate and peanut sauce.
5. Add colorful illustrations and designs. For each dish, list a
price - in cacao beans!
|
|